Restore backed-up email, folders and mailboxes
With the Email Backup add-on, restore an individual or group of email, folders or mailboxes in a single action.
- Sign in to Email Backup. Use your Microsoft 365 email address and password (your GoDaddy username and password won't work here).
- At the top of the page, select Users.
- Select a user.
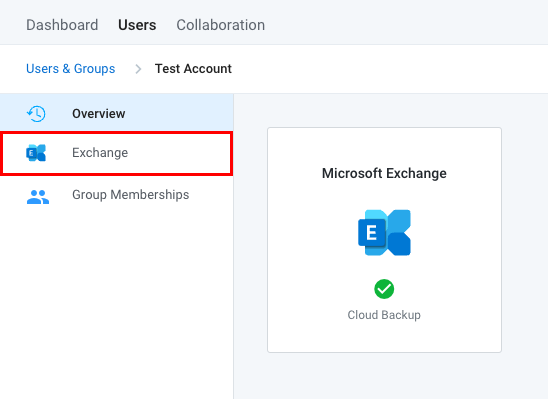
- To open the user's mailbox data, select Exchange.
- Based on what you want to restore, select the appropriate tab, and then continue with these steps:
- Search for the email you want to restore:
- If you don't know the location of the email you want to restore, in the upper-right corner above the message list, search for the email.
- If you know the location of the email that you want to restore, select the folder containing the email.
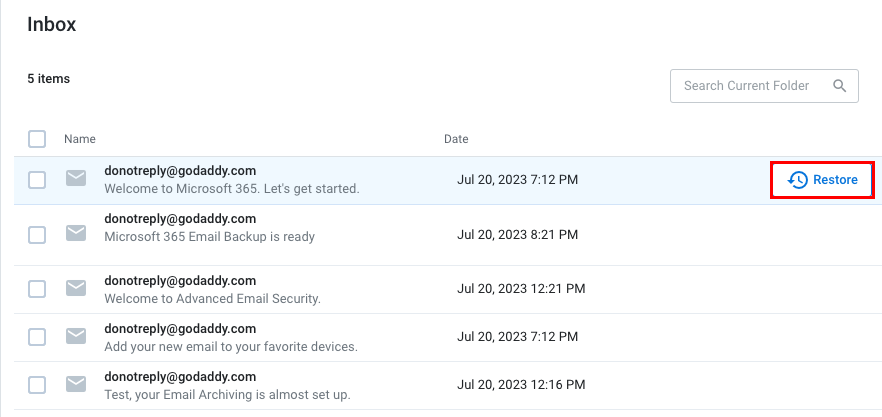
- Hover over the email you want to restore (on mobile, tap the email), then select Restore. A menu will open on the rightmost side and Email Backup will validate your restore request.
- (Optional) To restore multiple messages at once, select the checkboxes next to each email and then, above the list of messages, select Restore.
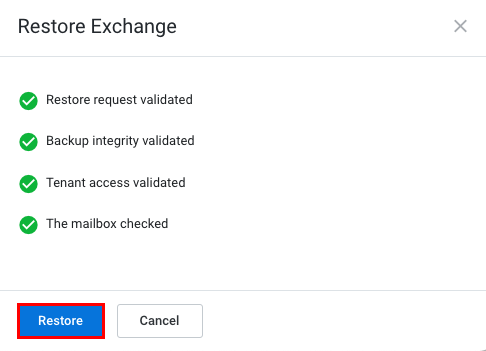
- Select Restore.
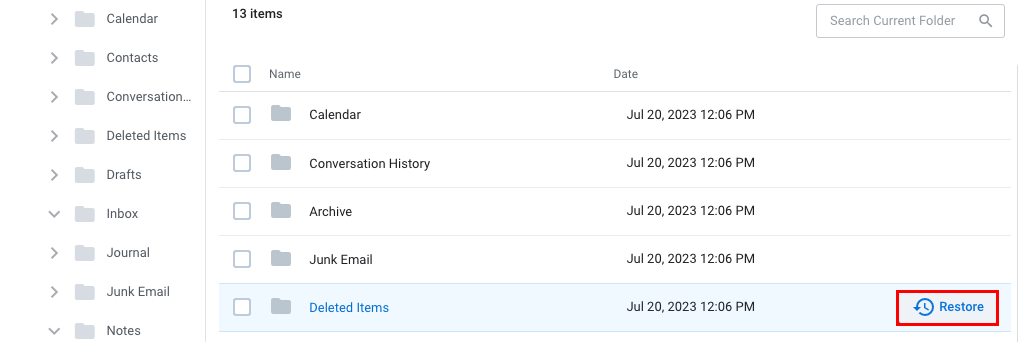
- Hover over the folder you want to restore (on mobile, tap the folder), then select Restore. A menu will open on the rightmost side and your restore request will be validated.
Note: You can also use these steps to restore a calendar, contacts list, tasks, notes or journal. When you open a user's mailbox data, they'll be listed as folders.
- (Optional) To restore multiple folders, select the checkbox next to each folder, and then, above the list of messages, select Restore.
- Select Restore.
- To restore all folders in the user's mailbox, at the top of the list of folders, select the checkbox.
- After all folders are selected, select Restore. A menu will open on the rightmost side and Email Backup will validate your restore request.

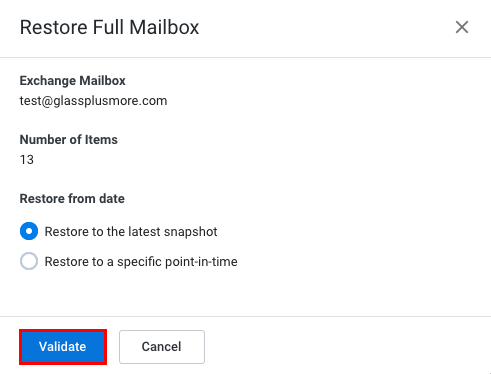
- Select an option for restoring the mailbox, and then select Validate.
- Restore to the latest snapshot: This will restore the mailbox using the most recent snapshot of the data.
- Restore to a specific point-in-time: This will restore the mailbox using the data available up to a specified date and time.
- Select Restore.
- Search for the email you want to restore:
Email Backup will initiate your request and then restore the user's selected item(s) or full mailbox.
More info
- What is Email Backup?
- Purchase Email Backup with an Email Essentials, Email Plus, or Business Professional plan. Or, you can contact our GoDaddy Guides to purchase the add-on only.
