Create and apply taxes
You can create and manage taxes through the Dashboard in your web browser or with the Catalog and Terminal apps on the GoDaddy smart terminal. Defining taxes enables the Register app to automatically calculate and apply taxes to items during a transaction.
Create tax rates in your Dashboard to apply to your products at checkout.
- Sign in to your In Person Overview page (use your GoDaddy username and password).
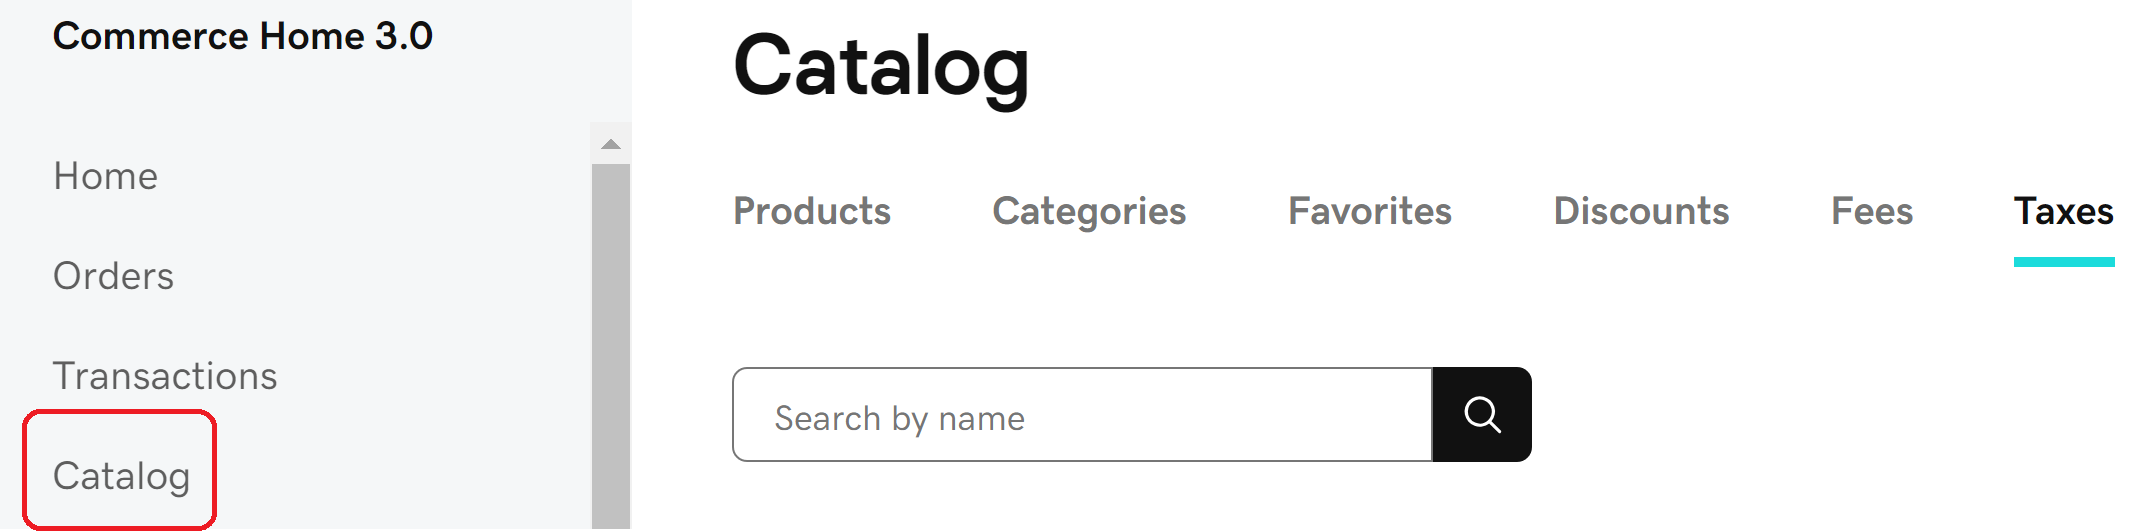
- Select Catalog in the left-nav, and then select Taxes from the top-nav.
 Note: If you don’t see these options, follow these steps to set up your taxes in the original GoDaddy Payments dashboard.
 - Select Create a tax.
- Fill in the Name, Percent (%) or Amount ($), and a Note (optional).
- Select the checkbox next to Apply to all products to automatically apply the tax to every item in your store. (If unchecked, you can still apply this to individual products as needed.)
Note: You can also apply, remove and edit the tax rates for individual products by updating the product listing in your catalog. For example, if most of your products have a specific tax rate (like an alcohol tax) and some do not, you can apply the tax rate to all products and then remove it individually from the products that are exempt.
- Select the checkbox next to Disable if you don’t want to apply the tax at checkout. (For example, you want to prepare a custom tax, but not implement it yet.)
- Select Create. You can edit the details for the tax later by selecting the entry in the tax list.
Create and manage taxes from the Catalog app on your smart terminal. Taxes that are already associated with an order or item will be automatically applied during checkout.
- On your smart terminal home screen, tap Catalog.
- Tap Taxes, then tap Add Tax.
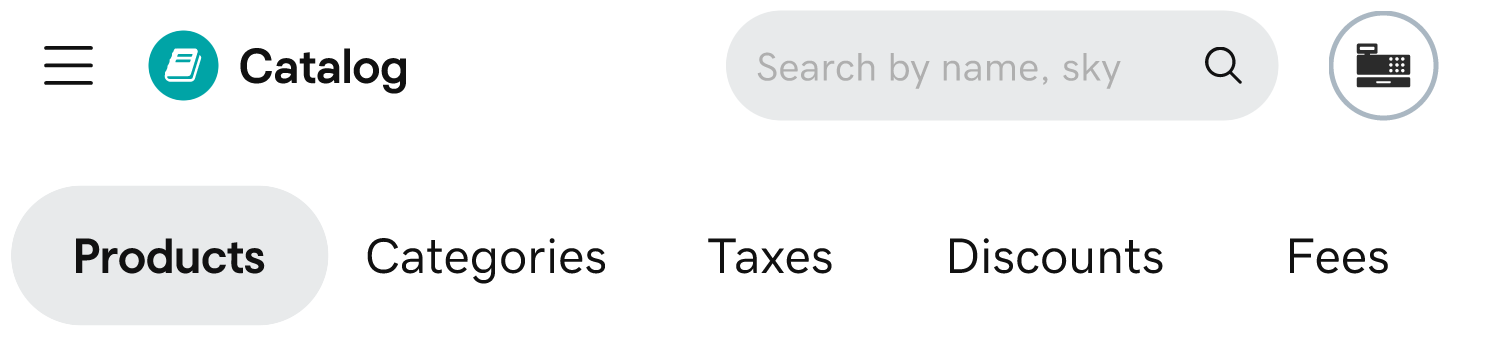 Note: If your app header looks different than the image above, follow these steps to set up your taxes in the original Catalog app.
 - Enter the Name and percent (%), or dollar amount ($).
- Under Context, choose Apply to All (apply the tax to every product) or Product Level (apply the tax to specific products only).
- Tap Add Tax. It will automatically apply to the products you’ve selected.
- To make changes to a tax, tap Taxes in the Catalog app, locate the tax in the list and tap
 Edit. You can change or delete the tax, or assign it to additional products as needed.
Set a tax rate for transactions you process using the Terminal app on the smart terminal, which doesn't use a product catalog (where taxes are saved).
- Tap Settings on the second page of the smart terminal home screen.
- Tap Business Settings.
- Switch the Tax on Terminal App toggle to On.
- Switch the toggle next to Tax 1 (0%) to On.
- Tap
 Edit.
Edit.
- Enter a Name for the tax.
- Enter the tax Percentage. To enter a dollar amount, switch the toggle to $.
- Tap Save.
Once you apply taxes to products in a catalog, the tax rate is applied automatically to those items when you complete a transaction in the Register app.
- On the smart terminal home screen, tap Register.
- Create an order using the Register app.
- Manually adjust the tax rate for the full order or for a specific product in the order:
- Order: Tap the Tax On/Tax Off button to apply the tax rate that you've associated to the products in the order. No tax is applied to products that don't have an associated tax rate.
- Product: To add or remove tax from a specific item in the order, tap Edit next to a recently added item or tap Order Details, then tap
 Edit next to the item. Under Include Tax, switch the appropriate toggle On/Off. Tap Confirm.
Note: If no tax is assigned at the catalog, category or item level, you will not be able to turn taxes on or off for an item during a transaction.
- Complete the transaction.
