Process transactions with GoDaddy smart terminals
Process customer payments on your GoDaddy smart terminal. Your customers can pay with credit or debit cards, cash, personal checks, and more. If you sync your inventory with your online store, selling a catalog item on the smart terminal will remove it from the online store’s inventory.
Note: Tap Notes during any transaction to add details to the order, such as the customer’s name, check number or special requests.
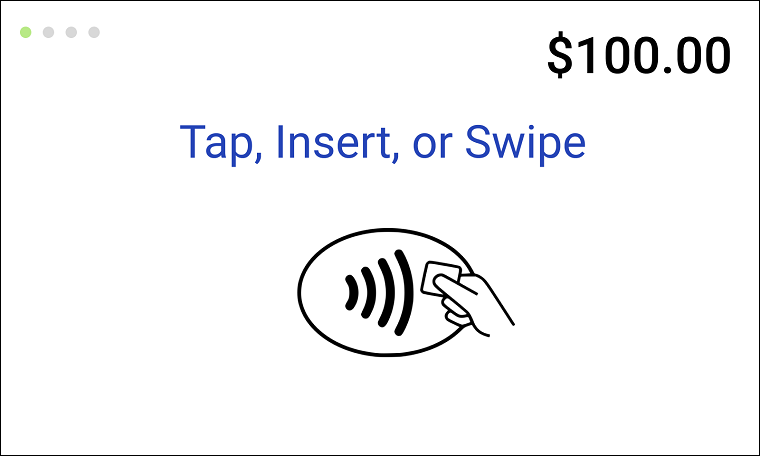
Process magnetic stripe, chip card and contactless payment transactions.
- Create an order on your smart terminal in the Register app. You can also manually enter a dollar amount in the Terminal app.
- Tap Charge.
- If tips are enabled, wait for your customer to select a tip amount or tap Skip Tip. (Skipping the tip will add a “Tip” line to the printed receipt where your customer can write in an amount if they like.)
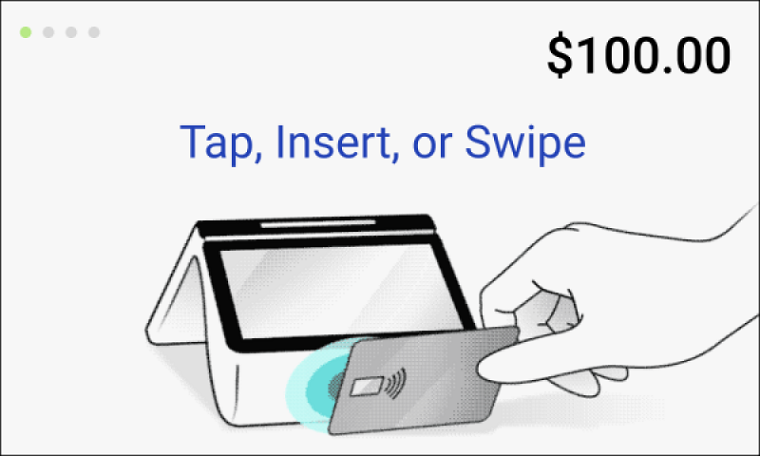
- Wait for your customer to insert, swipe or tap their card or device.
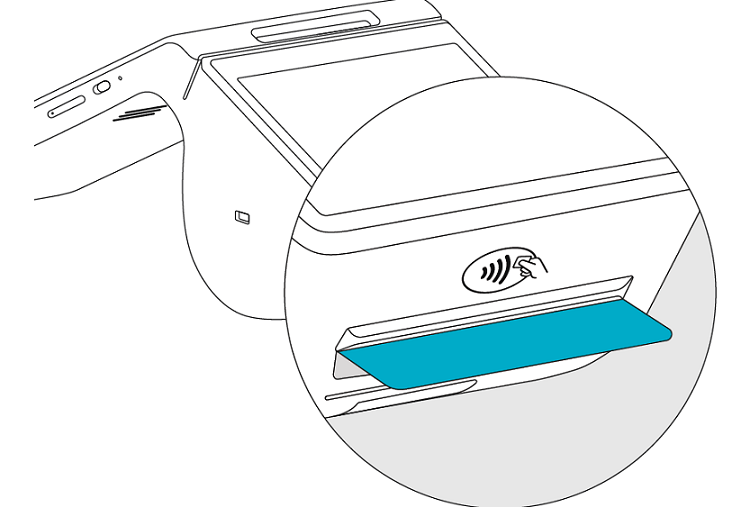
Note: For contactless (NFC) payments, different versions of the smart terminal have a specific “tap” location. (The version number is located on the back of your device.)
- V2.0 or V3.0 (with NFC icon onscreen): Tap the card or device on the customer-facing screen.
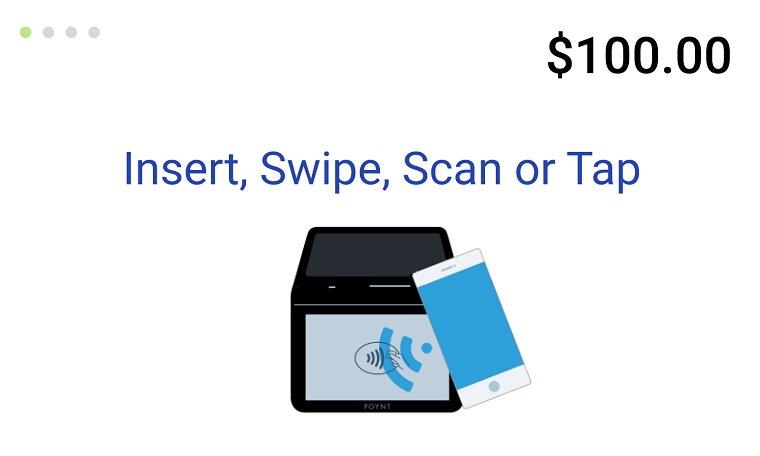
- Flex or V3.0 (with NFC icon printed on the hardware near the receipt slot): Tap the card or device on the
 NFC icon below the customer-facing screen.
- V2.0 or V3.0 (with NFC icon onscreen): Tap the card or device on the customer-facing screen.
- Wait for your customer to sign the customer screen. If you want to bypass this step and obtain a signature on a printed receipt, tap Skip, tap Receipt, and then tap Done.
- Wait for your customer to remove their card, if applicable, and choose how they want to receive a receipt (No Receipt, Paper Receipt, Email or Send Text).
If your customer doesn't have their physical credit card, or if the card isn’t scanning correctly, enter their credit card information manually.
- Create an order on your smart terminal in the Register app. You can also manually enter a dollar amount in the Terminal app.
- Tap Charge.
- If tips are enabled, wait for your customer to select a tip amount or tap Skip Tip. (Skipping the tip will add a “Tip” line to the printed receipt where your customer can write in an amount if they like.)
- Tap the menu next to Sale (it reads Credit) and tap Manual Entry.
- Enter the credit card info (card number, expiration date, CVV, billing zip code and street number).
- Tap Charge.
- Wait for your customer to sign the customer screen. If you want to bypass this step and obtain a signature on a printed receipt, tap Skip, tap Receipt, and then tap Done.
- Wait for your customer to choose a receipt option (No Receipt, Paper Receipt, Email, or Send Text).
Accept a personal check as payment for your customer's order.
- Create an order on your smart terminal in the Register app. You can also manually enter a dollar amount in the Terminal app.
- Tap Charge. If tips are enabled, wait for your customer to select a tip amount or tap Skip Tip.
- Tap the menu next to Sale (it reads Credit) and tap Other.
- In the Notes field, enter information about the transaction. For example, you could enter the customer’s name and check number.
- Tap Complete.
- Wait for your customer to choose a receipt option (No Receipt, Paper Receipt, Email, or Send Text).
Accept cash as payment for your customer's order.
- Create an order on your smart terminal in the Register app. You can also manually enter a dollar amount in the Terminal app.
- Tap Cash.
- Enter the received amount.
- Tap Complete.
- Wait for your customer to choose a receipt option (No Receipt, Paper Receipt, Email, or Send Text).
Customers can divide their payment across multiple methods, or use an alternative payment method, like a check or store credit.
- Create an order on your smart terminal in the Register app. You can also manually enter a dollar amount in the Terminal app.
- Tap Charge. If tips are enabled, wait for your customer to select a tip amount or tap Skip Tip.
- Tap the menu next to Sale (it reads Credit), tap one of the payment methods, and follow the on-screen prompts.
- Multi-tender: Split the charge between multiple payment methods. For example, split a payment with one charge on Visa and another charge on MC, or split a payment with one charge on Amex and the other as cash.
- Debit (Interac): Interac Direct Payment (IDP) is Canada's national debit card service for purchasing of goods and services. For Canadian customers, the Debit option automatically defaults to an Interac debit payment.
- Other: Additional payment methods such as checks, gift certificates, or store credit.
More info
- What payment methods can I accept with GoDaddy Payments?
- Learn how to view your transaction history.
- Add customer tips to transactions.
